
Roco Kingdom Best Team: Six Slots, One Win Condition
Build the best Roco Kingdom team around one win condition: six roles, energy curves, sample cores, PvP win conditions and the swaps that fix bad matchups.
A Roco Kingdom team is six Jinies, but it is not six good Jinies. It is one plan with five supporters. The fastest way to improve a mediocre team is to write down how it wins: burst through the lead, stall with status, set weather and sweep, or win the energy war and pivot until the opponent runs out of answers. Then cut every slot that does not help that plan.
This guide covers the role structure, the energy curve and four sample cores. It uses the Chinese launch version for team size and PvP rules, both marked beta / unconfirmed for the global client.
Start with the win condition
Before you pick a single Jinie, answer one question: how does this team take four points of the opponent's mana?
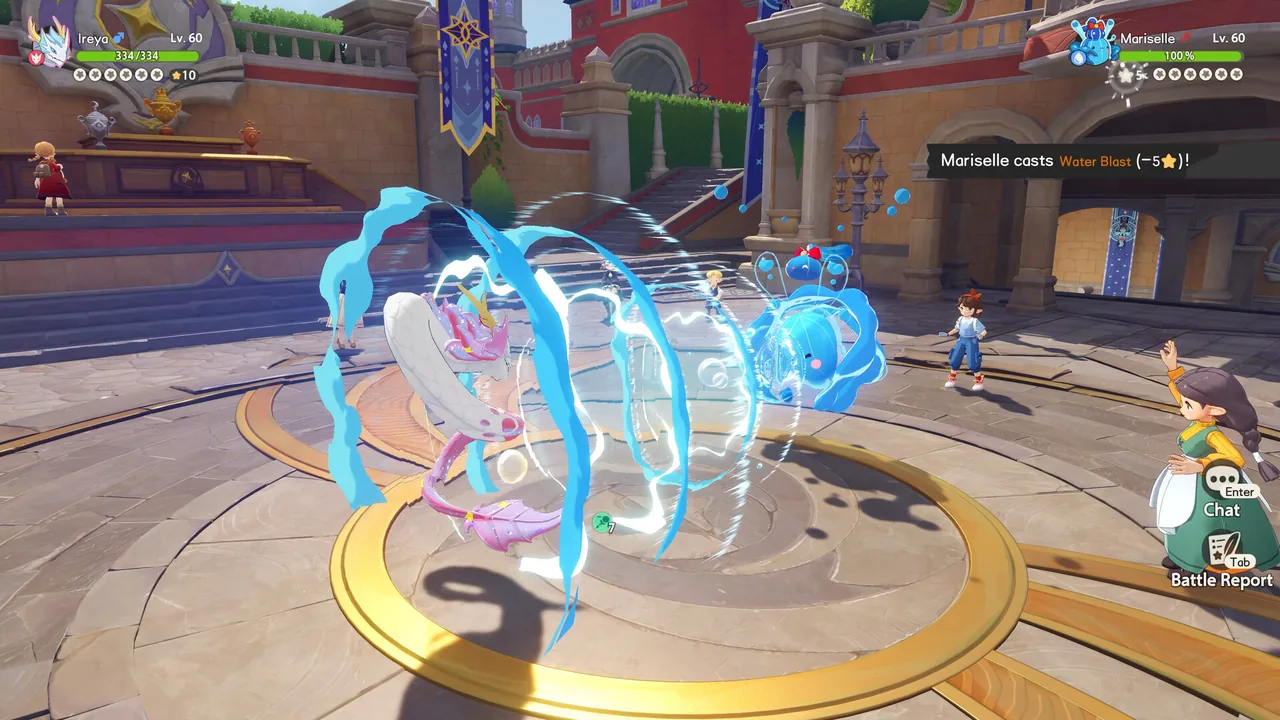
In the Chinese version's PvP, each player fields six Jinies and starts with four mana. A fainted Jinie removes one mana from its side; the first side to lose all four loses the match. That means you do not need to knock out all six. You need to force four favorable trades.
That rule rewards two different plans:
- Pressure: knock out the opponent's key pieces before they set up.
- Attrition: force cheap trades, heal the damage back, and win the mana race.
A team that does neither is a pile of decent matchups with no clock.
The four-mana PvP rule is confirmed in the Chinese version. The global beta may use a different ladder format. Check the in-game rules before you build around a specific number.
The six roles
| Slot | Job | What it must do | What it must not do |
|---|---|---|---|
| 1 | Lead / pivot | Start a favorable matchup or switch out cheaply | Burn the team's only answer on turn one |
| 2 | Fast damage | Force a knockout or a defensive switch | Stay in against a resist with no plan |
| 3 | Bulky damage | Trade hits and hold the middle game | Chase kills it cannot finish |
| 4 | Support | Heal, cleanse, restore energy or set weather | Sit in front of a setup sweeper |
| 5 | Tank / status | Absorb a predicted hit or spread a debuff | Deal no damage and no pressure |
| 6 | Flex counter | Answer the meta threat your core loses to | Duplicate a role you already have |
You do not need all six roles in the first ten hours. You do need to know which role each Jinie is filling, because "good stats" is not a role.
The energy curve
Every skill costs energy. A team that cannot attack on consecutive turns is not a burst team; it is a team that loses to a single protect.
Build the curve before you build the damage:
- Cheap opener: a low-cost attack or utility skill that starts the turn cycle without emptying the bar.
- Mid-cost pressure: the skill you use when you have a read on the opponent's switch.
- Expensive finisher: the skill you only click when the knockout is real.
- Energy recovery: a support skill, a trait or a switch that refunds enough to keep attacking.
In the Chinese version, some "response" skills refund energy and add an effect when they match the opponent's action. That makes prediction part of the economy: a correct response is both damage prevention and a refund.
Four sample cores
These are role templates, not rental teams. Substitute the Jinies you actually own.
1. Fire burst
- Lead: fast fire attacker with a cheap opening skill.
- Core: Sparka or another fire damage dealer with a high-cost finisher.
- Support: a healer or energy battery that can survive one hit.
- Flex: a water answer, because the mirror is common.
- Tank: a body that can take a hit while the carry recovers energy.
- Fill: a second damage type so the team is not walled by one resist.
The plan is to force an early knockout, then trade the remaining mana with your healthier pieces. The failure mode is running out of energy before the first kill; fix it with a cheaper opener, not more damage.
2. Water sustain
- Lead: Cerulla or another low-cost water attacker.
- Core: a bulky water damage dealer with healing or drain.
- Support: cleanse plus heal.
- Flex: a grass answer for the mirror.
- Tank: a status absorber.
- Fill: a fast revenge killer.
The plan is to make every trade expensive for the opponent. You win by forcing them to spend energy to break through, then punishing the turn they cannot attack.
3. Status attrition
- Lead: a bulky status setter.
- Core: a damage dealer that converts status into pressure.
- Support: a second status applier or a cleanser for the mirror.
- Flex: a burst piece for the endgame.
- Tank: a Jinie that benefits from long fights.
- Fill: speed control or a weather answer.
The plan is to stack a debuff the opponent cannot remove, then stall until the mana lead is irreversible. The failure mode is a fast team that kills your setter before the first stack lands.
4. Weather sweep
- Lead: the weather setter.
- Core: a damage dealer that gains a large bonus under that weather.
- Support: a pivot that can re-set weather after a KO.
- Flex: a second abuser so the plan survives one loss.
- Tank: a body that can stall out the opponent's weather turns.
- Fill: a fast cleaner.
The plan is to force the opponent to answer the weather or lose a piece. The failure mode is relying on one setter with no backup.
How to fill the last slots
Once the core three are set, add answers in this order:
- Your worst matchup. If a single common type beats your core, slot a resist or a counter.
- Your energy problem. If the team stalls after two turns, add a battery or a cheaper opener.
- Your speed problem. If you always move second, add a fast piece or a priority-like answer.
- Your status problem. If a single debuff ends the game, add a cleanse.
Do not add a sixth damage dealer because it looks strong on a tier list. The tier list explains why a role grade is not a team slot.
Early-game team vs PvP team
In the first ten hours, field your starter, Dimo, a mount and whatever else survives. Do not spend resources on a sixth battle Jinie before you have a home and a breeding queue.
Once you reach the mid-game, build one team and stop. The progression guide explains the level bands; the team rule is simpler: six invested Jinies beat twelve half-leveled ones.
Testing a team
Run three checks before you call a team finished:
- The solo test: can one strong opponent Jinie sweep you after a bad lead? If yes, add a check.
- The energy test: can your core attack on three consecutive turns? If no, fix the curve.
- The switch test: do you have a safe switch into your worst matchup? If no, the team is a coin flip.
The counters guide covers specific archetypes, and the PvP guide covers the in-match decisions that turn a good team into a win.
Sources
Companion wiki
For the searchable Jinie database behind this guide, use the Roco Kingdom Wiki. It holds the full reference tables; this site stays focused on decisions and routes.
FAQ
How many Jinies are on a team? Six in the Chinese version, for both PvE and PvP. The global beta uses the same roster structure.
Do I need six Jinies before I can win? No. Story content is forgiving, and a strong core of three can carry the early game. PvP is where the full six matters.
Should I use the same team for PvE and PvP? Usually not. PvE rewards sustain and type coverage; PvP rewards prediction, speed and mana trading. Keep one core and swap the flex slots.
Is a mono-type team viable? It can clear story content, but it gives the opponent a single answer. For PvP, bring at least two damage types.
Official source: Roco Kingdom official site — combat system and platform announcements. See the Steam page for the current feature list.
More Roco Kingdom Guides
A practical Roco Kingdom boss plan: break the shield with Star Magic, build sustain, manage Vitality and convert a failed attempt into progress.
How Roco Kingdom breeding works: unlock the home, pair egg groups, queue three eggs, hatch by distance and inherit the stats that matter.
How Roco Kingdom co-op works: friend requirements, shared gathering and combat XP, home visits, blessing eggs and the etiquette that keeps groups together.
Counter Roco Kingdom's burst, stall, weather, speed and lifesteal teams with role-based answers, safe switches and a mana-first game plan.
A repeatable Roco Kingdom daily loop for 10, 20 or 45 minutes: academy tasks, home commissions, rare seeds, bosses and breeding upkeep.
Roco Kingdom's endgame loop: awakening, bloodline projects, PvP, weekly bosses, breeding and the one-week plan that keeps progress moving.
Navigate Carosia efficiently: region order, tower and teleport unlocks, mount upgrades, weather statues and the exploration loop that pays.
Earn Roco Kingdom coins efficiently: one-time coin drawers, repeatable pickup routes, daily commissions and the purchases worth saving for.